In the realm of bread-making, one day sourdough bread recipe reigns supreme, beckoning bakers of all skill levels to embark on a culinary adventure. This unique bread, crafted with the magic of a sourdough starter, offers a symphony of flavors and textures that will tantalize your taste buds.
As we delve into the secrets of this beloved bread, we'll explore the intricacies of creating a healthy sourdough starter, mastering the art of mixing and shaping, and unlocking the mysteries of fermentation and baking. Get ready to transform your kitchen into a sourdough sanctuary, where the aroma of freshly baked bread fills the air.
Ingredients
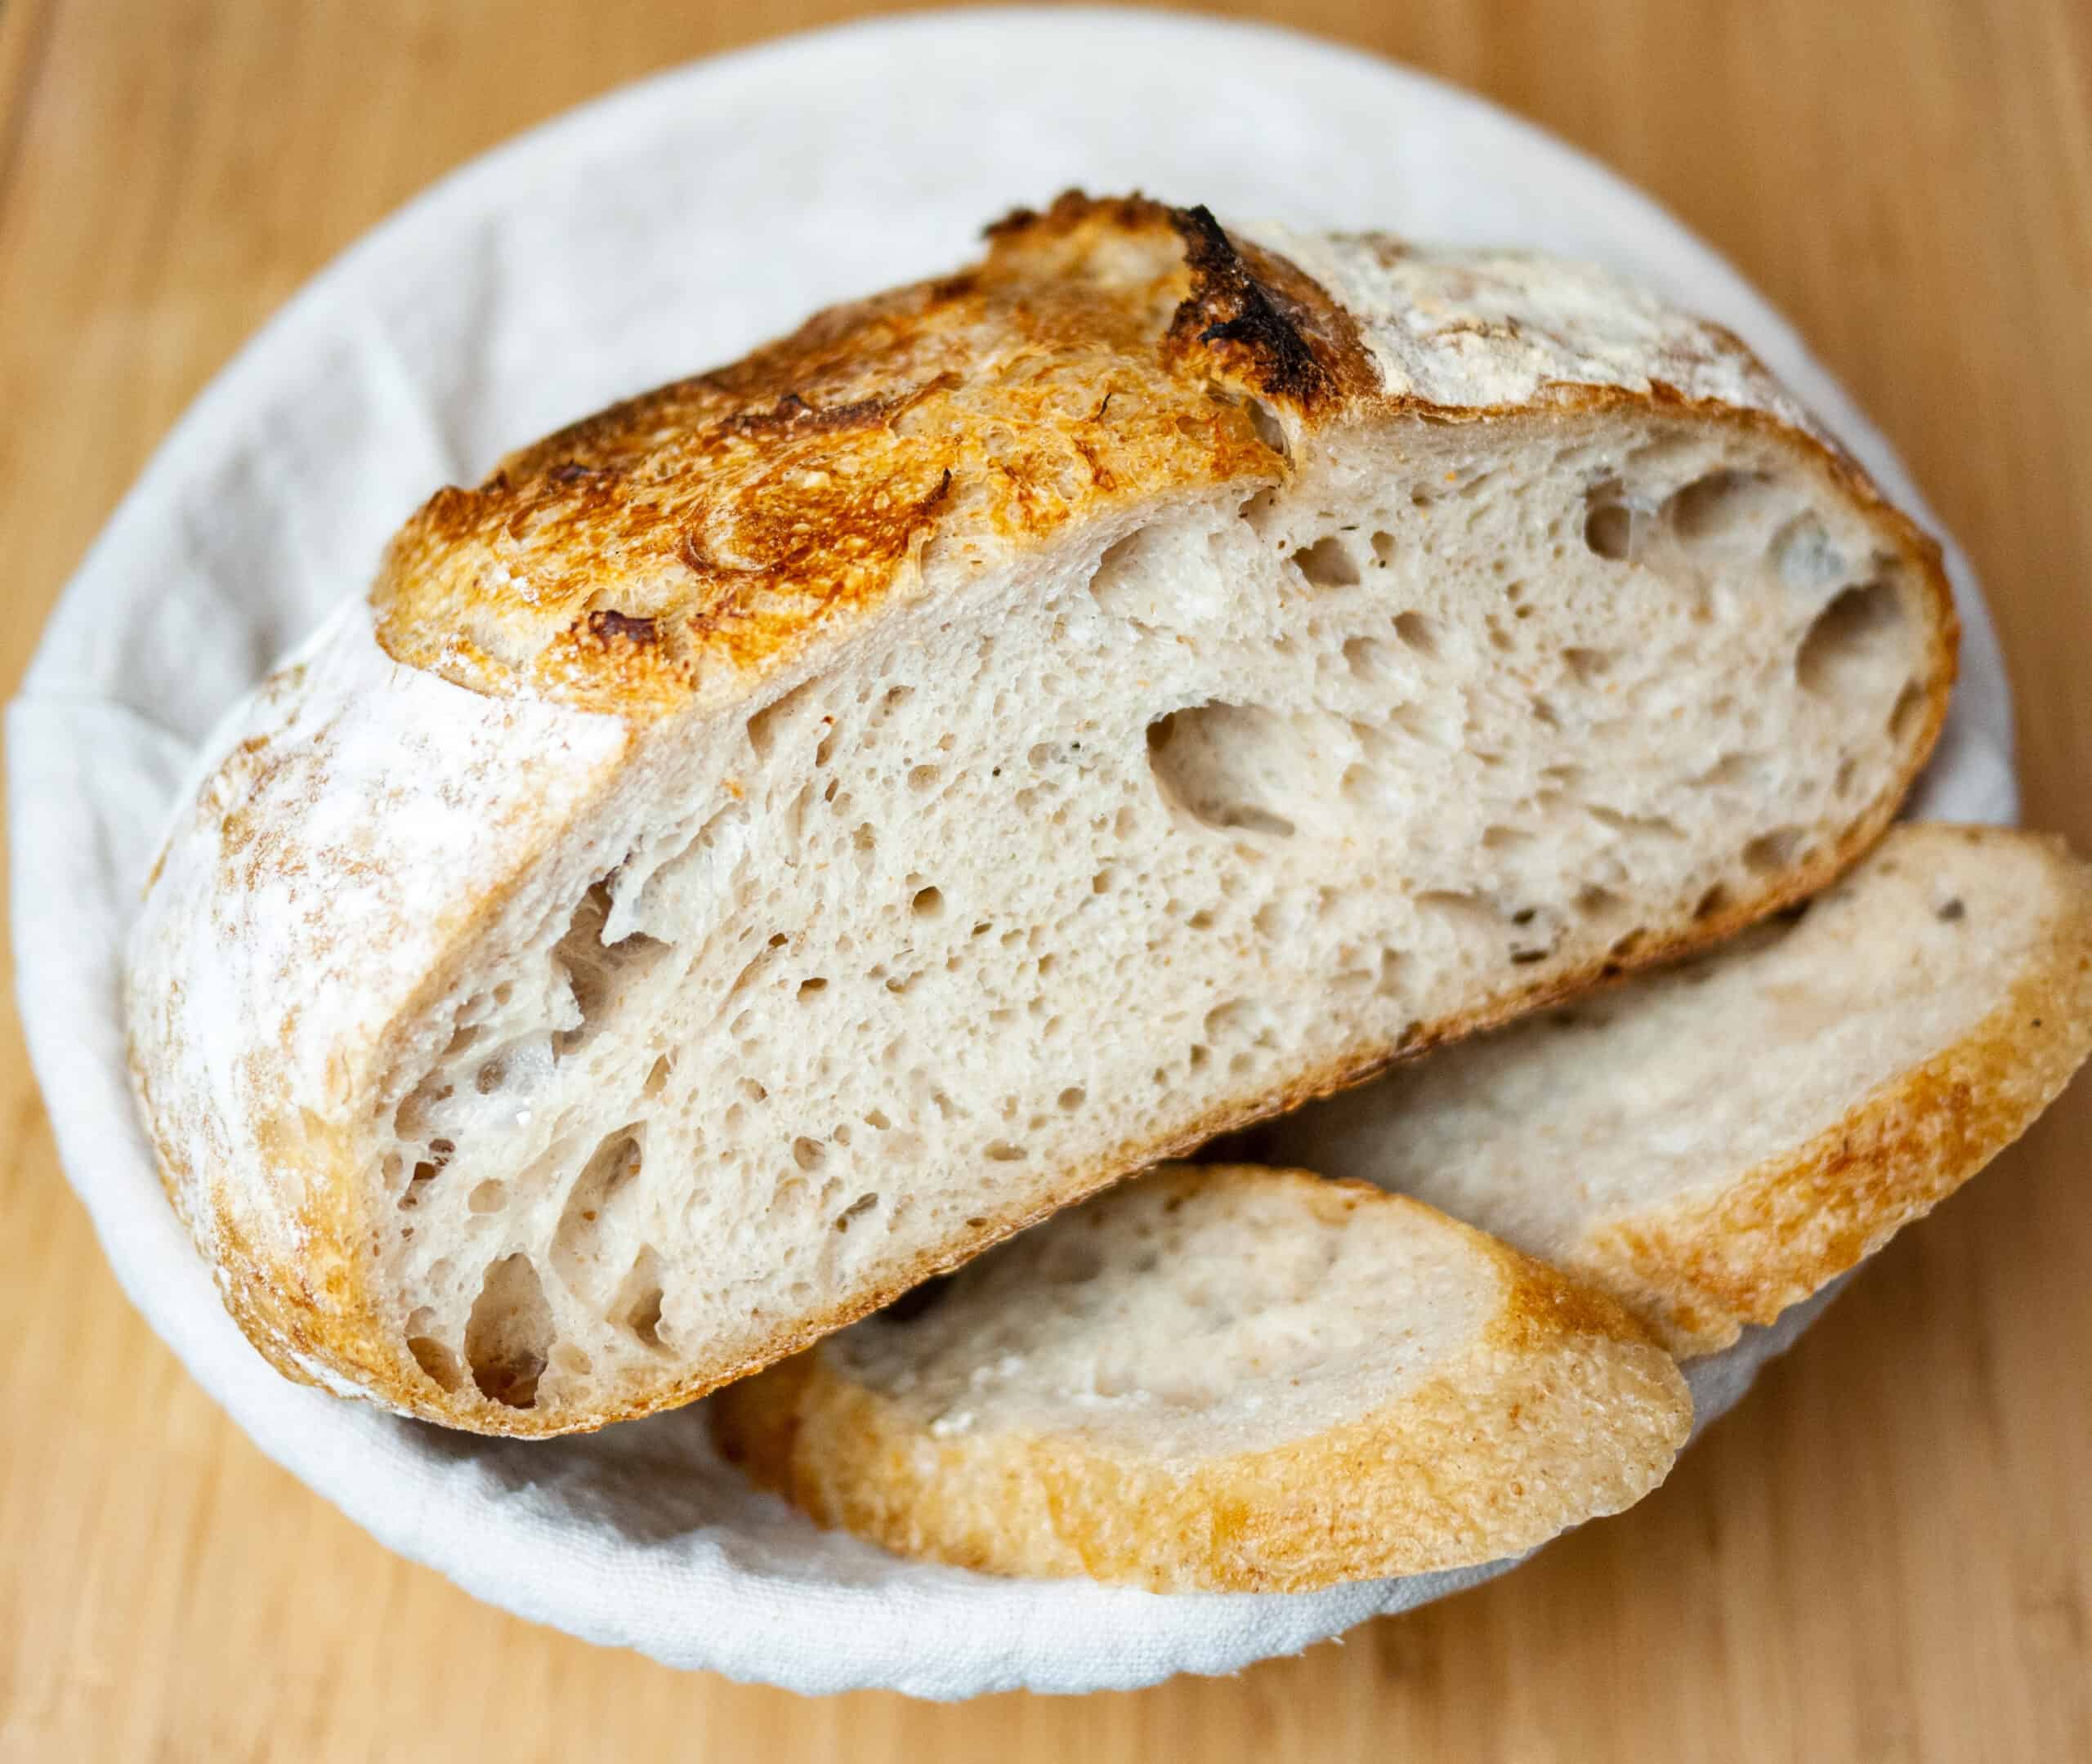
One-day sourdough bread requires a handful of essential ingredients, each playing a crucial role in the bread's flavor, texture, and rise.
The cornerstone of sourdough bread is the sourdough starter, a fermented mixture of flour and water that imparts the bread's characteristic tangy flavor and acts as a natural leavening agent.
Sourdough Starter
- Provides the bread with its characteristic sour flavor and aroma.
- Contains wild yeast and bacteria that ferment the dough, producing carbon dioxide gas that causes the bread to rise.
Flour
- Provides the bread's structure and texture.
- High-protein bread flour is recommended for sourdough bread, as it contains more gluten, resulting in a chewy and well-developed crumb.
Water
- Hydrates the dough, allowing the gluten proteins to form a network that gives the bread its elasticity.
- The amount of water used will affect the dough's consistency and the final texture of the bread.
Salt
- Enhances the bread's flavor and balances the sourness.
- Strengthens the gluten network, resulting in a stronger and more elastic dough.
Starter
The sourdough starter is the heart of any sourdough bread. It's a mixture of flour and water that is fermented by wild yeast and bacteria. This fermentation process gives sourdough bread its characteristic sour flavor and chewy texture.
To prepare a sourdough starter, you will need:
- 1 cup (120g) whole wheat flour
- 1/2 cup (120ml) warm water
Instructions:
- In a clean glass jar, whisk together the flour and water until a thick paste forms.
- Cover the jar loosely with a cheesecloth or a paper towel and secure with a rubber band.
- Place the jar in a warm place (75-80°F) and let it sit for 24 hours.
- After 24 hours, discard half of the starter and feed it with another 1/2 cup (60g) of whole wheat flour and 1/4 cup (60ml) of warm water.
- Repeat steps 3-4 for 5-7 days, or until your starter is bubbly and active.
Maintaining a Healthy Sourdough Starter
Once you have a healthy sourdough starter, you will need to maintain it by feeding it regularly. To feed your starter, simply discard half of it and add equal parts flour and water. The best ratio is 1:1:1, meaning equal parts starter, flour, and water by weight.
For example, if you have 100g of starter, you would add 50g of flour and 50g of water.
You can store your sourdough starter in the refrigerator for up to 2 weeks. When you are ready to use it, take it out of the refrigerator and feed it several times until it is bubbly and active again.
Mixing: One Day Sourdough Bread Recipe
Mixing the dough is a crucial step in creating a successful sourdough bread. By following these simple steps, you'll achieve the perfect dough consistency for a delicious and satisfying loaf.
First, combine the starter, water, and flour in a large bowl. Use a wooden spoon or your hands to mix until the ingredients are well combined and form a shaggy dough. The dough should be slightly sticky, but not so wet that it sticks to your hands.
Kneading
Once the dough is mixed, turn it out onto a lightly floured surface and begin kneading. Kneading helps develop the gluten in the flour, which gives the bread its structure and elasticity. Knead for about 10 minutes, or until the dough is smooth and elastic.
If the dough becomes too sticky, add a little more flour. If it becomes too dry, add a little more water.
Bulk Fermentation
After kneading, place the dough in a lightly oiled bowl and cover it with plastic wrap. Let the dough rise at room temperature for about 8-12 hours, or until it has doubled in size. This process, known as bulk fermentation, allows the yeast in the starter to produce gas, which will create the air pockets in the bread.
Bulk Fermentation
Bulk fermentation is a crucial step in the sourdough bread-making process that allows the dough to develop flavor, strength, and structure.
During bulk fermentation, the dough is left to rest and rise at room temperature for several hours. This allows the yeast to continue to ferment the sugars in the dough, producing carbon dioxide gas that creates bubbles and gives the bread its characteristic texture.
Signs of Readiness for Shaping
The dough is ready for shaping when it has doubled in size and passes the windowpane test. The windowpane test involves gently stretching a small piece of dough between your fingers. If the dough forms a thin, translucent membrane without tearing, it is ready to be shaped.
Shaping
Once the bulk fermentation is complete, it's time to shape the dough into a loaf. Shaping determines the final form of the bread and affects its texture and rise.
Classic Boule
- Dust a work surface with flour.
- Turn the dough out onto the floured surface.
- Use your hands to gently fold and stretch the dough, shaping it into a round boule.
- Tuck the edges under to create a smooth surface.
Bâtard, One day sourdough bread recipe
- Similar to shaping a boule, but shape the dough into an oval shape.
- Pinch the ends to create a pointed shape.
Miche
- Divide the dough into two equal pieces.
- Shape each piece into a round boule.
- Place the boules side by side on a baking sheet, touching slightly.
Proofing
Proofing is a crucial step in sourdough bread making that allows the dough to rise and develop its characteristic flavor and texture. During proofing, the yeast in the dough ferments the sugars, producing carbon dioxide gas that creates air pockets within the dough.
Ideal Conditions for Proofing
- Temperature:The ideal temperature for proofing is between 75-85°F (24-29°C). Warmer temperatures will cause the dough to rise too quickly, resulting in a bread with a dense crumb. Cooler temperatures will slow down the rising process, leading to a bread with a more open crumb.
- Humidity:High humidity is important for preventing the dough from drying out during proofing. This can be achieved by covering the dough with plastic wrap or placing it in a proofing box with a damp towel.
- Time:The proofing time will vary depending on the temperature and humidity of the environment. As a general rule, the dough should double in size during proofing.
Baking
The final stage in the sourdough bread-making process is baking. This step transforms the shaped dough into a golden-brown loaf with a crisp crust and a chewy, flavorful interior.
Baking Techniques
To achieve the best results, follow these baking techniques:
- Preheat the oven:Preheat your oven to the desired temperature (typically 450-480°F or 230-250°C) before placing the dough inside.
- Steam:Introduce steam into the oven during the first 15-20 minutes of baking. This helps create a crisp crust and prevents the bread from drying out.
- Rotate the loaf:Rotate the bread halfway through baking to ensure even cooking.
Desired Crust Color and Internal Texture
The ideal crust color for sourdough bread is a deep golden brown. The internal texture should be chewy and slightly moist, with a complex flavor profile.
To achieve this, bake the bread for the recommended duration and monitor its color and texture. If the crust becomes too dark, cover it with aluminum foil to prevent burning.
Indulge in the tangy goodness of a one-day sourdough bread recipe, where the aroma of fermented flour fills your kitchen. While you savor the earthy flavors, let's take a sweet detour to a tempting mini boston cream pie recipe . Picture fluffy choux pastry filled with velvety custard and topped with a decadent chocolate ganache.
Now, return to your sourdough bread, where the crispy crust and chewy crumb await your eager taste buds.
Cooling
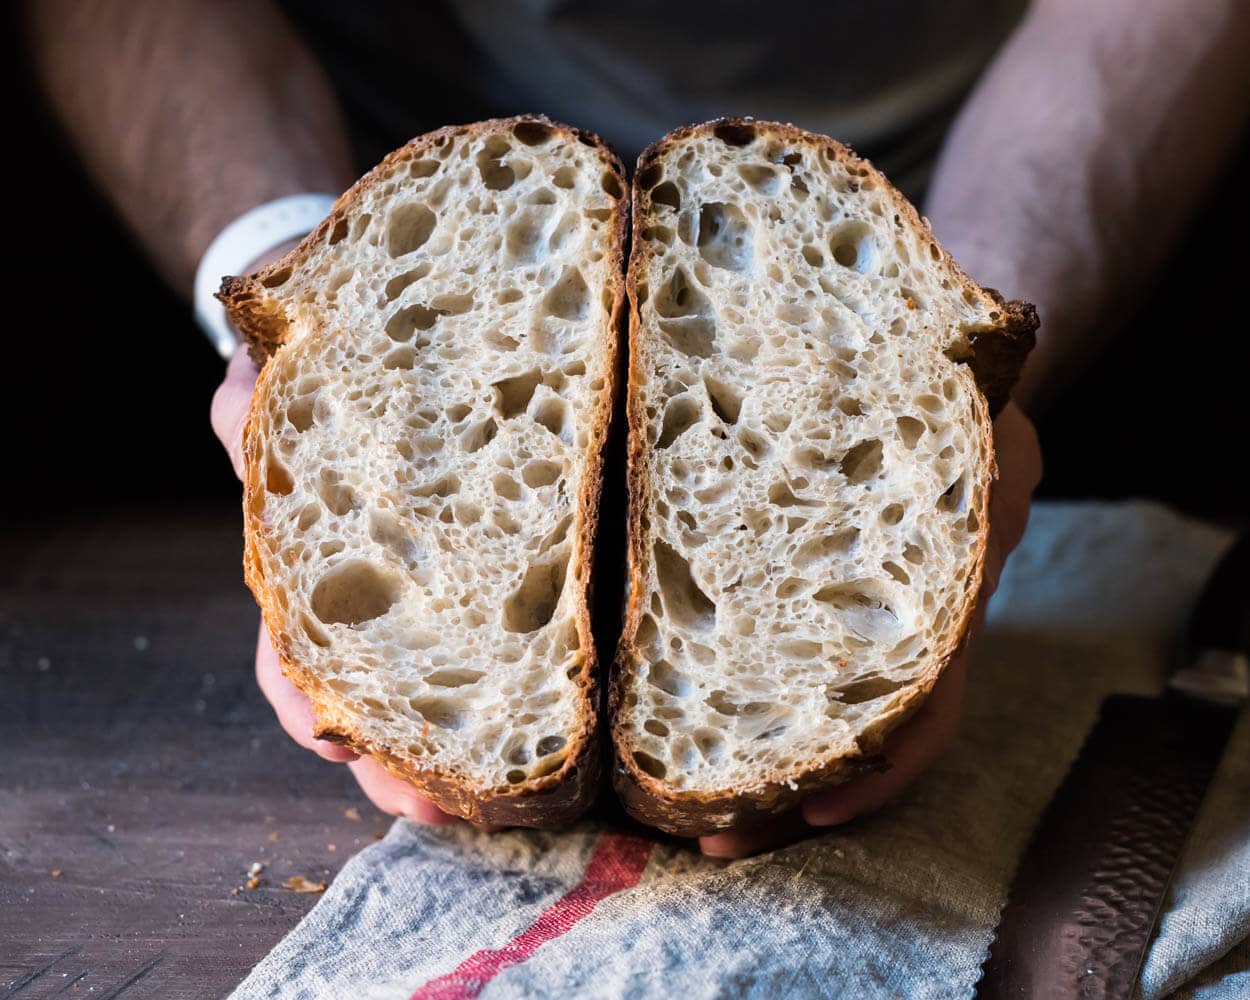
Cooling the bread properly after baking is crucial for its texture and flavor. The hot interior needs time to redistribute moisture and set evenly, preventing a gummy or soggy interior.
Allow the bread to cool on a wire rack for at least an hour before slicing. This allows air to circulate around the loaf, ensuring an even cool-down and preventing the bottom crust from becoming soggy.
Importance of Cooling Before Slicing
- Even Texture:Cooling allows the bread to set evenly, resulting in a uniform texture throughout.
- Improved Flavor:The flavors develop and deepen as the bread cools, resulting in a more complex and satisfying taste.
- Easier Slicing:The bread is easier to slice when cool, as it is less likely to tear or crumble.
- Crust Integrity:Cooling on a wire rack prevents the bottom crust from becoming soggy and losing its crispiness.
Troubleshooting
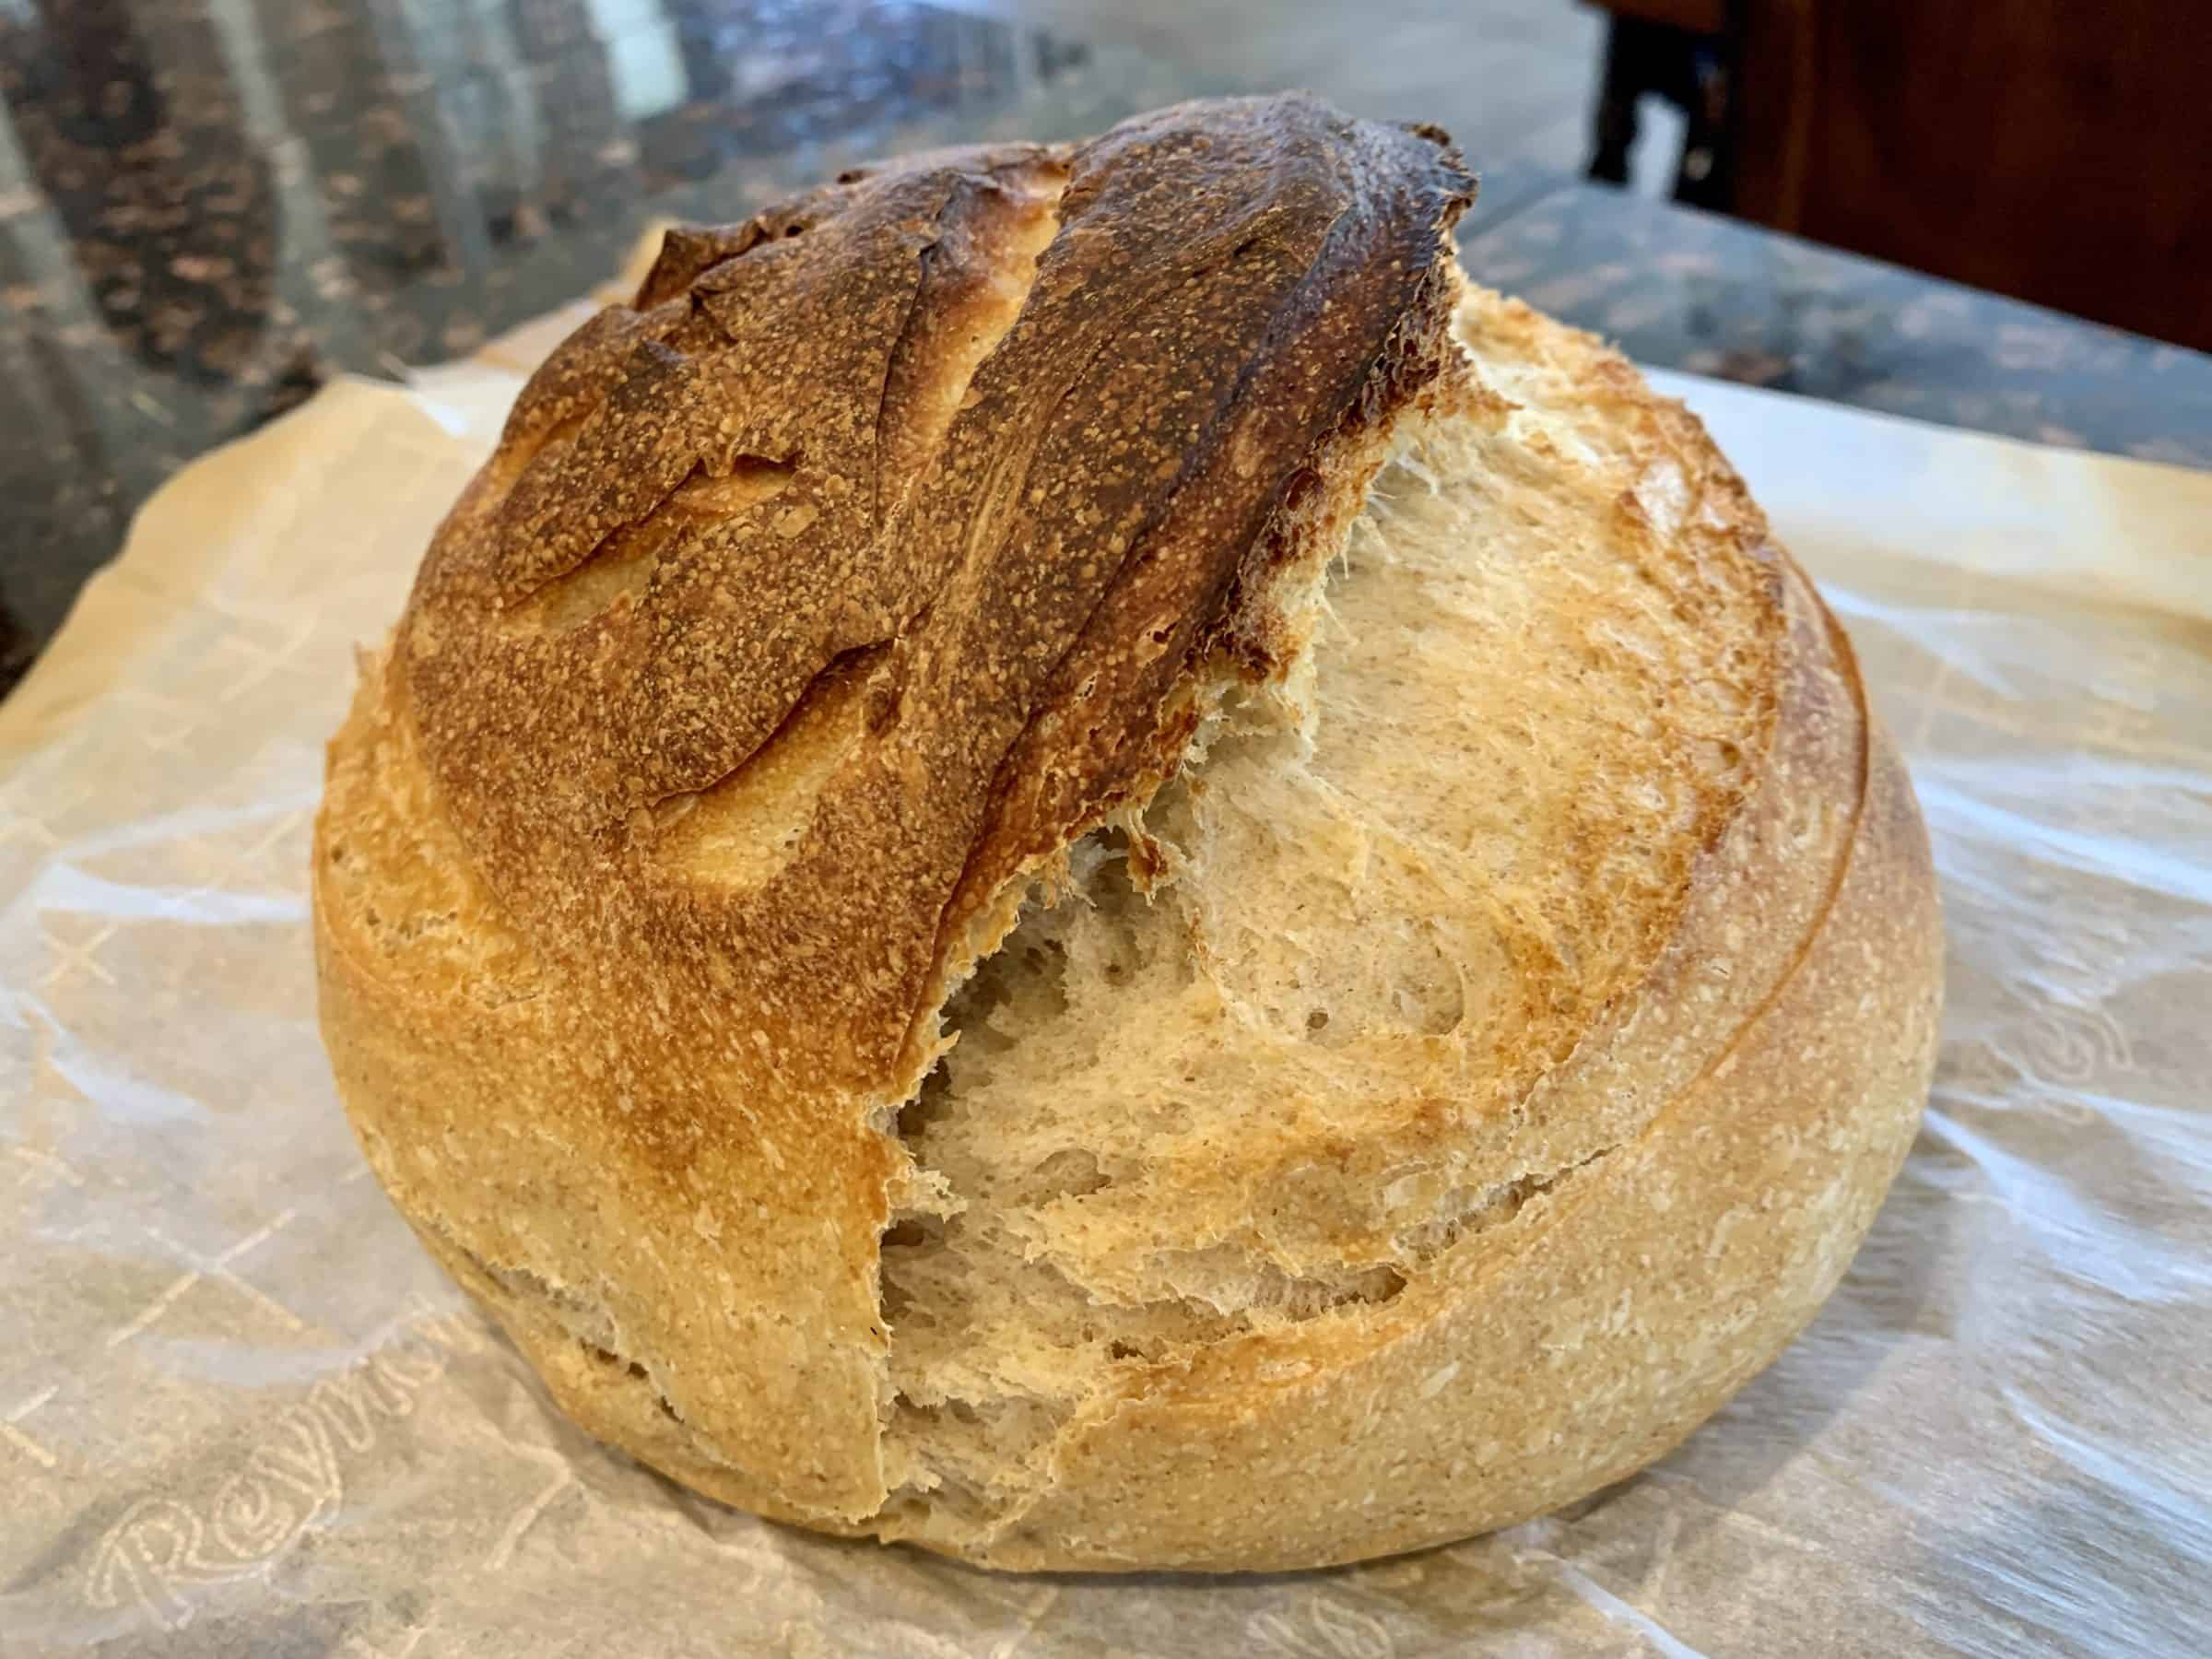
Despite careful preparation, challenges can arise during sourdough bread making. Recognizing and addressing these issues ensures a successful outcome.
Common issues include dough that is too sticky, too dry, or fails to rise. These can be attributed to factors such as incorrect hydration levels, starter activity, or fermentation conditions.
Starter Activity
- Weak Starter:A sluggish starter may fail to leaven the dough. Consider feeding it more frequently or using a stronger starter.
- Overly Active Starter:An overly active starter can cause the dough to rise too quickly, leading to a dense and sour loaf. Refrigerate the starter or use less of it in the dough.
Dough Hydration
- Too Sticky:Add more flour gradually until the dough becomes manageable. Avoid over-kneading, as this can develop the gluten too much.
- Too Dry:Add water sparingly until the dough comes together. Avoid adding too much water, as this can weaken the gluten structure.
Fermentation
- Slow Rising:Ensure the dough is in a warm environment (75-80°F) and that the starter is active. If necessary, increase the fermentation time.
- Over-Proofing:If the dough has risen too much, it can collapse during baking. Shape the dough and proof it for a shorter period.
Variations
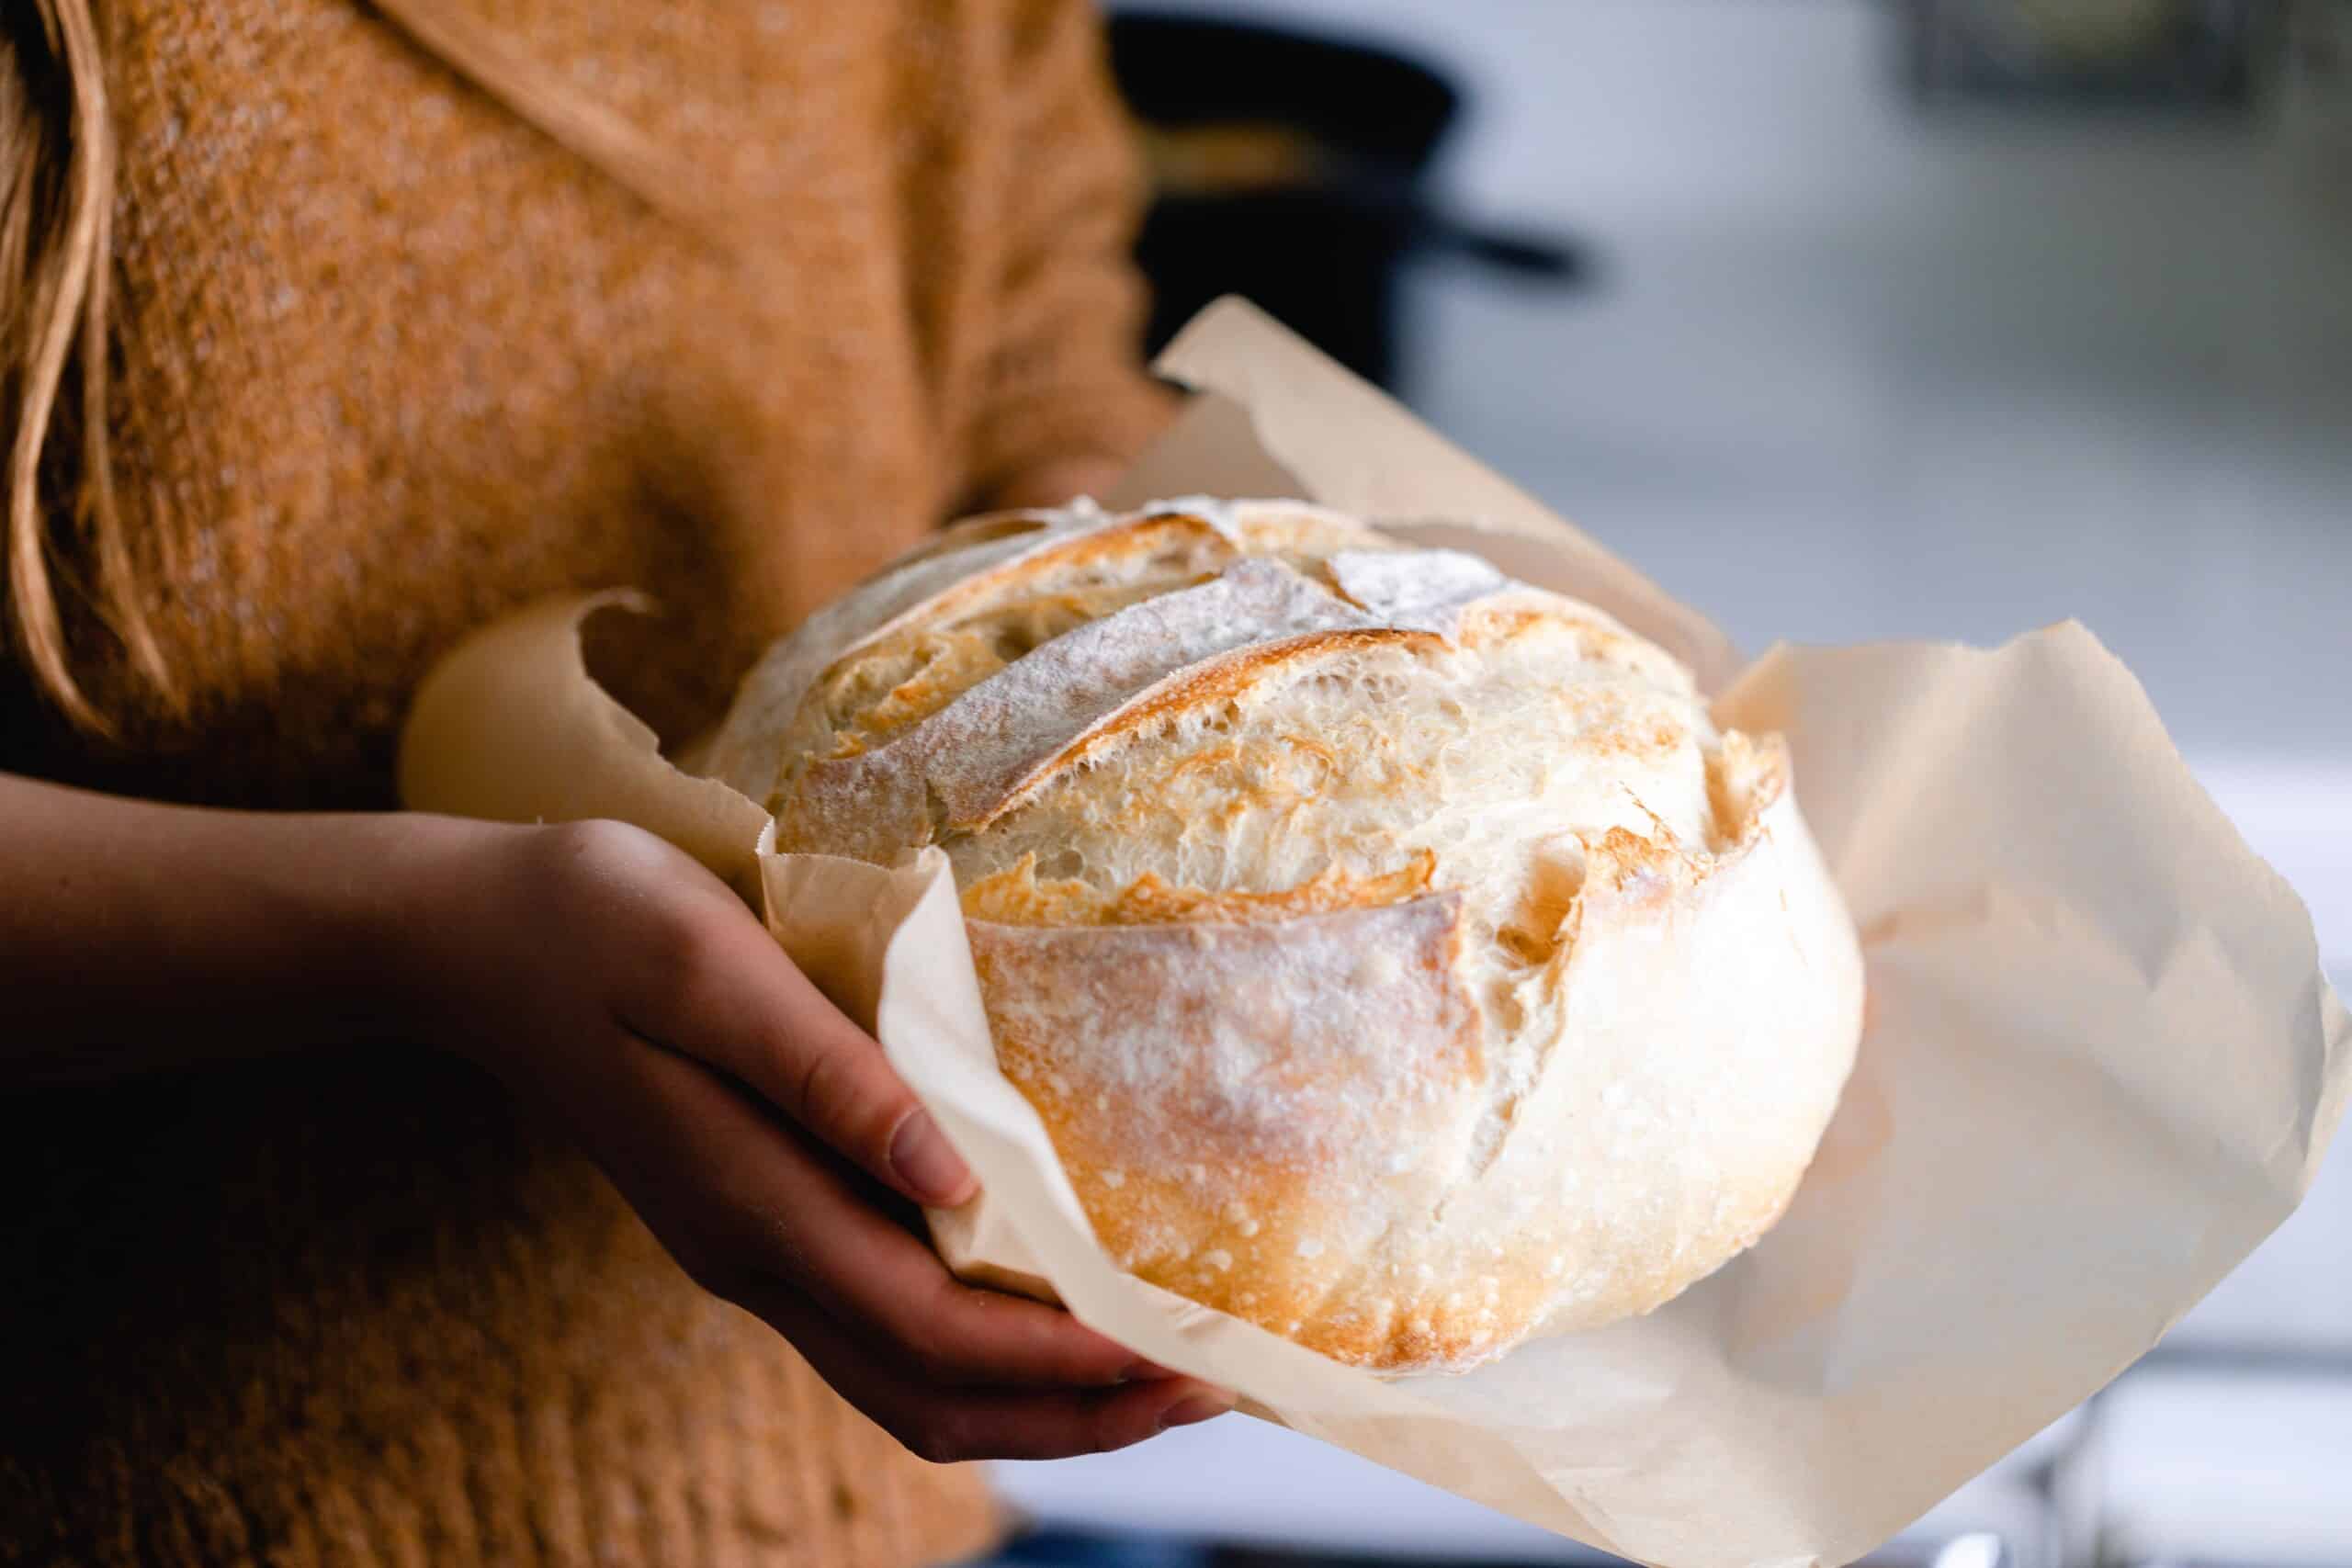
One-day sourdough bread is a versatile recipe that can be customized to create a variety of delicious and unique loaves. Experiment with different flours, flavors, and add-ins to find your perfect bread.
Flours
The type of flour you use will significantly impact the texture and flavor of your bread. Try using different flours such as whole wheat, rye, or spelt to create different variations. Whole wheat flour will give your bread a more rustic and nutty flavor, while rye flour will add a slightly sour tang.
Spelt flour will give your bread a light and airy texture.
Flavors
You can add a variety of flavors to your one-day sourdough bread. Try adding herbs such as rosemary or thyme, or spices such as cumin or coriander. You can also add grated cheese, chopped olives, or sun-dried tomatoes. Be creative and experiment with different flavors to find your favorites.
Add-ins
Add-ins are a great way to add extra texture and flavor to your bread. Try adding nuts, seeds, or dried fruit. Walnuts, almonds, and sunflower seeds are all popular choices. You can also add dried cranberries, raisins, or apricots. Be sure to soak dried fruit in hot water for a few minutes before adding it to your dough to prevent it from burning.
Outcome Summary
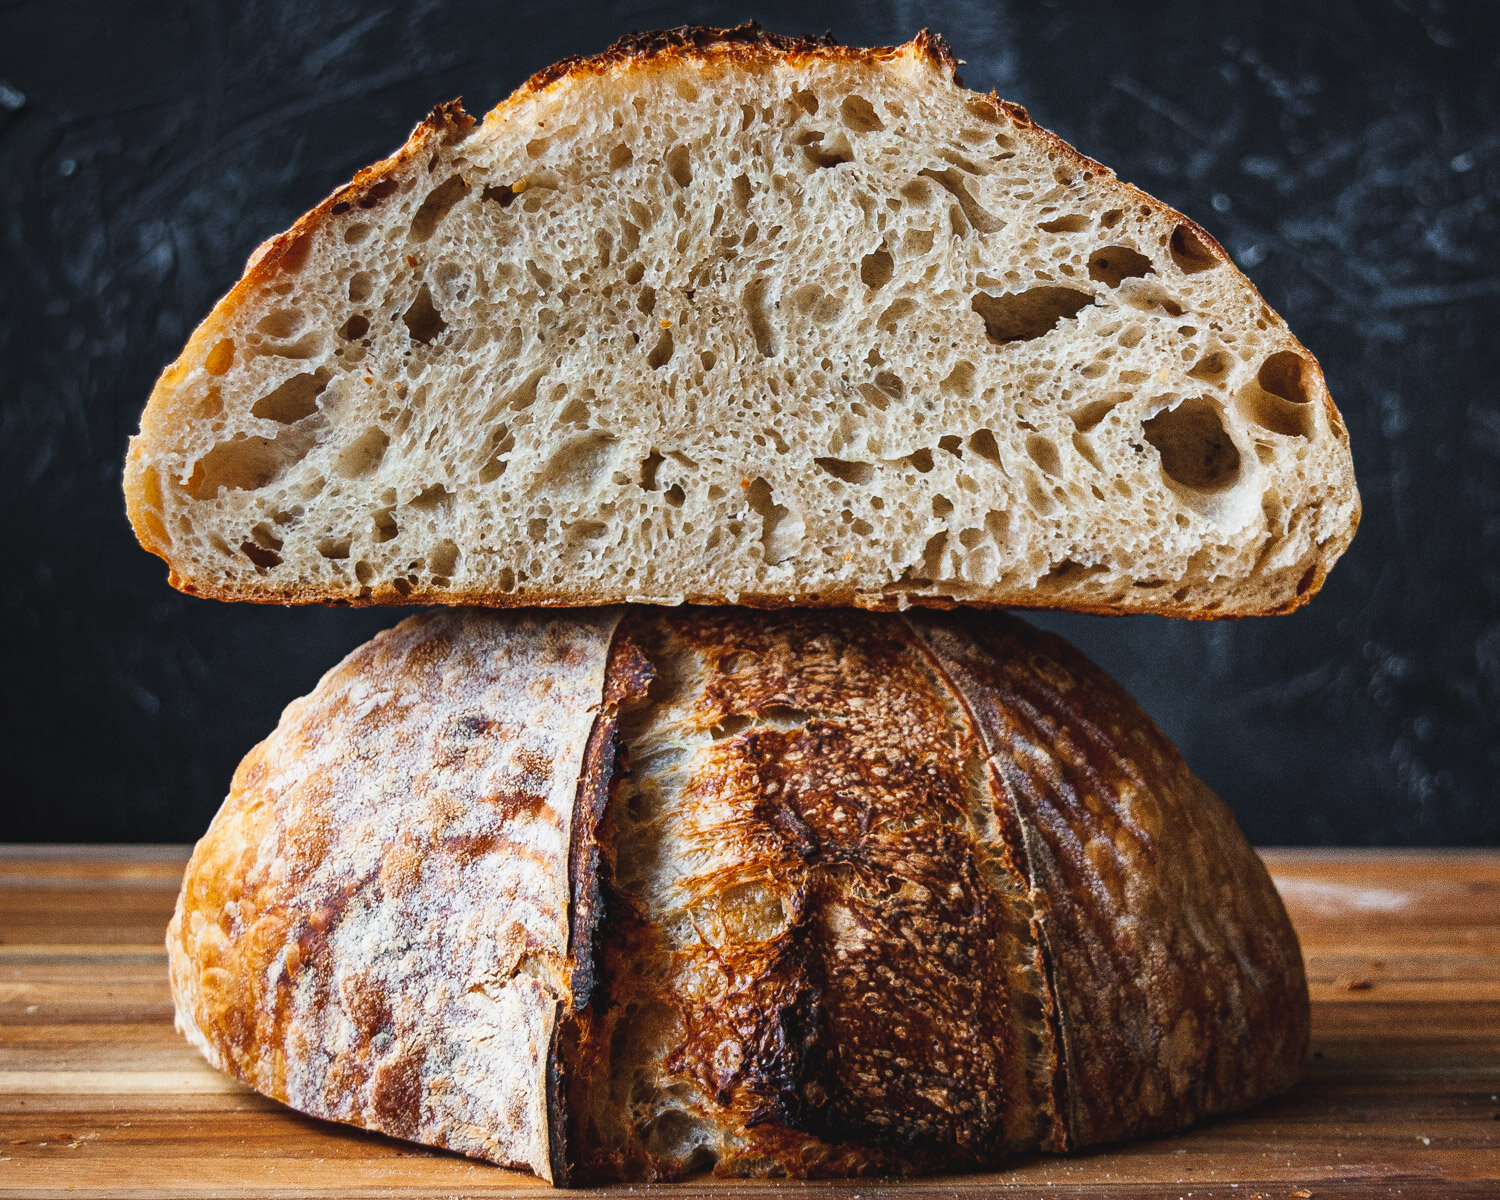
Our journey through the one-day sourdough bread recipe concludes with a profound appreciation for the artistry and science behind this culinary masterpiece. Whether you're a seasoned baker or a novice seeking to expand your bread-making horizons, this guide has equipped you with the knowledge and confidence to create a loaf that will delight your senses and nourish your soul.
As you embark on this sourdough adventure, remember that each loaf tells a unique story. Embrace the imperfections, celebrate the variations, and savor the joy of crafting a bread that is truly a labor of love. May your sourdough creations bring warmth, comfort, and a touch of magic to your table.


