Pie iron recipes for camping sets the stage for this enthralling narrative, offering readers a glimpse into a story that is rich in detail and brimming with originality from the outset. With a focus on crafting unforgettable culinary experiences in the wilderness, this guidebook delves into the art of creating delectable pies over an open flame, transforming simple ingredients into mouthwatering masterpieces.
From classic fillings to innovative concoctions, this comprehensive guidebook empowers you to unleash your creativity and embark on a culinary adventure like no other. Whether you're a seasoned camper or a novice cook, prepare to be captivated by the endless possibilities that await within the pages of this captivating guide.
Classic Campfire Pie Iron Recipes
Campfire pie irons are a classic camping treat that can be easily made over an open fire. They are made with two pieces of cast iron that are hinged together and filled with your favorite ingredients. The pie irons are then placed over the fire and cooked until the ingredients are heated through.
There are many different recipes for campfire pie irons, but some of the most popular include fruit pies, chocolate pies, and savory pies. Fruit pies are made with fresh or frozen fruit, sugar, and cornstarch. Chocolate pies are made with chocolate chips, sugar, and flour.
Savory pies are made with meat, cheese, and vegetables.
Fruit Pie Recipe
Ingredients:
- 1/2 cup fruit (fresh or frozen)
- 1/4 cup sugar
- 1 tablespoon cornstarch
Instructions:
- Combine the fruit, sugar, and cornstarch in a bowl.
- Place half of the mixture in one side of the pie iron.
- Fold the other side of the pie iron over the filling.
- Cook over the fire for 5-7 minutes, or until the filling is heated through.
Chocolate Pie Recipe
Ingredients:
- 1/2 cup chocolate chips
- 1/4 cup sugar
- 1 tablespoon flour
Instructions:
- Combine the chocolate chips, sugar, and flour in a bowl.
- Place half of the mixture in one side of the pie iron.
- Fold the other side of the pie iron over the filling.
- Cook over the fire for 5-7 minutes, or until the chocolate is melted and bubbly.
Savory Pie Recipe
Ingredients:
- 1/2 cup cooked meat (such as ground beef, sausage, or chicken)
- 1/4 cup cheese (such as cheddar, mozzarella, or pepper jack)
- 1/4 cup vegetables (such as onions, peppers, or mushrooms)
Instructions:
- Combine the meat, cheese, and vegetables in a bowl.
- Place half of the mixture in one side of the pie iron.
- Fold the other side of the pie iron over the filling.
- Cook over the fire for 5-7 minutes, or until the cheese is melted and the meat is heated through.
Creative Pie Iron Fillings
Expand your pie iron repertoire beyond the classics with innovative and unique fillings. Explore gourmet cheeses, seasonal fruits, and s'mores variations to create unexpected flavor combinations.
Experiment with different textures and flavors by using the pie iron to grill, melt, and crisp ingredients. Combine sweet and savory elements, such as fruit and cheese, or create savory pies with unexpected ingredients like pulled pork or roasted vegetables.
S’mores Variations
- S'mores with Nutella:Spread Nutella on one pie iron half, top with marshmallows and graham crackers.
- S'mores with Peanut Butter:Layer peanut butter, marshmallows, and chocolate chips between pie iron halves.
- S'mores with Bacon:Add crispy bacon to the classic s'mores combination for a savory twist.
Gourmet Cheeses
- Brie and Fig:Top brie cheese with sliced figs and a drizzle of honey.
- Goat Cheese and Caramelized Onions:Spread goat cheese on one pie iron half, top with caramelized onions and sprinkle with fresh thyme.
li> Blue Cheese and Pear:Combine blue cheese crumbles with sliced pears and a drizzle of balsamic vinegar.
Seasonal Fruits
- Apple Pie:Fill pie iron with sliced apples, cinnamon, and sugar.
- Peach Cobbler:Combine sliced peaches, oats, and brown sugar in the pie iron.
- Blueberry Pie:Top a pie iron half with blueberries, sugar, and a sprinkle of cornstarch.
Experiment with different fillings and combinations to create your own unique pie iron creations. The possibilities are endless!
Sweet and Savory Pie Iron Options
Pie irons are versatile cooking tools that can be used to create a variety of sweet and savory dishes while camping. Here is a table with a few recipe ideas to get you started:
These are just a few ideas to get you started. There are many other possibilities, so experiment and find what you like best.
| Sweet | Savory |
|---|---|
| Apple Pie | Grilled Cheese |
| Blueberry Pie | Ham and Cheese |
| Peach Pie | Pepperoni Pizza |
| S'mores | Taco Pie |
Pie Iron Cooking Techniques
Mastering the art of pie iron cooking over a campfire enhances your camping experience, allowing you to create delectable treats with ease. Various cooking methods and techniques contribute to successful pie iron cooking, ensuring evenly cooked and flavorful fillings.
Heat Management
Heat management is crucial for pie iron cooking. Direct heat exposes the pie iron directly to the flames, resulting in quick cooking. Indirect heat positions the pie iron above the flames, allowing for more gradual and even cooking. Rotating the pie iron regularly ensures even heat distribution, while flipping it allows for both sides to cook evenly.
Cooking Times
Cooking times vary depending on the filling used. Fruit fillings, such as apples or berries, require less cooking time than meat fillings, such as sausage or bacon. Cheese fillings cook relatively quickly, while vegetables may require a bit more time.
A general guideline for cooking times is as follows:
- Fruit fillings: 5-7 minutes
- Meat fillings: 8-10 minutes
- Cheese fillings: 4-6 minutes
- Vegetable fillings: 6-8 minutes
Special Equipment and Tools
A pie iron stand elevates the pie iron above the flames, facilitating even cooking and preventing burning. A heat diffuser, such as a metal plate or foil, can be placed between the pie iron and the fire to reduce direct heat and prevent scorching.
Preventing Burning and Ensuring Even Cooking
To prevent burning, avoid overfilling the pie iron. Use a small amount of butter or oil to grease the inside of the pie iron before filling it. Close the pie iron securely to prevent fillings from leaking out. Monitor the cooking process closely and adjust the heat or cooking time as needed.
Creative Cooking Ideas and Variations
Pie iron cooking offers endless possibilities for creativity. Experiment with different fillings, such as savory combinations like cheese and ham or sweet delights like fruit and Nutella. Consider using pre-made dough or homemade biscuit mix to save time. Add a touch of spice or herbs to enhance the flavor of your fillings.
Campfire Pie Iron Safety
Using pie irons over an open flame requires utmost caution to prevent burns and accidents. Follow these essential safety precautions for a safe and enjoyable campfire cooking experience.
Always handle hot pie irons with caution. Wear heat-resistant gloves or use a long-handled utensil to avoid direct contact with the hot metal.
Preventing Burns
- Keep children and pets away from the cooking area and hot pie irons.
- Never touch the hot metal parts of the pie iron with bare hands.
- Place the pie iron on a stable surface or use a pie iron stand to prevent it from tipping over.
- Allow the pie iron to cool completely before handling or cleaning it.
Cooking Over an Open Flame
- Build a safe and contained campfire away from flammable materials.
- Never leave the campfire unattended.
- Keep the pie iron at a safe distance from the flames to prevent overheating.
- Use a long-handled fire poker or tongs to adjust the pie iron's position.
Pie Iron Customization
Transform your pie irons into unique expressions of your style and creativity with endless customization options. From intricate designs to personalized engravings, customize your pie irons to match your outdoor adventures and culinary preferences.
Custom Designs
Etching tools or laser engraving can create intricate designs on your pie irons. Use stencils or freehand drawings to transfer your designs onto the metal surface. Alternatively, consider heat-resistant paint or enamel to create colorful patterns and vibrant hues.
Engravings, Pie iron recipes for camping
Engrave your initials, a special message, or a meaningful symbol onto your pie irons for a personal touch. Laser engraving offers precision and permanence, ensuring your custom engravings will last a lifetime.
Handle Wraps
Wrap your pie iron handles with paracord, leather, or other heat-resistant materials for a comfortable grip and added style. Secure the wraps with rivets or glue, creating a unique and functional accessory for your camping gear.
Customization Options Table
| Customization Option | Materials | Techniques |
|---|---|---|
| Engravings | Laser engraving machine, stencils | Laser engraving, etching |
| Custom Designs | Heat-resistant paint, enamel, stencils | Painting, enameling |
| Handle Wraps | Paracord, leather, heat-resistant fabrics | Wrapping, riveting, gluing |
Pie Iron Meal Planning
Incorporating pie irons into your camping meals can elevate your culinary experience and provide versatility in your camp kitchen. Here's a sample meal plan that demonstrates how to use pie irons for breakfast, lunch, and dinner:
Breakfast
Start your day with a hearty and satisfying breakfast prepared in pie irons. Consider the following options:
- Campfire Omelet:Whisk together eggs, milk, and seasonings in a bowl. Pour the mixture into a greased pie iron and cook until set, flipping occasionally.
- Breakfast Burrito:Layer scrambled eggs, cheese, salsa, and your favorite fillings in a tortilla. Fold the tortilla in half and place it in a pie iron to cook until golden brown.
- Apple Pie Pancakes:Combine pancake batter with diced apples and cinnamon. Pour the batter into a greased pie iron and cook until golden brown.
Lunch
For lunch, pie irons offer a convenient and portable option. Try these ideas:
- Grilled Cheese Sandwich:Place a slice of cheese between two slices of bread. Butter the outside of the bread and cook in a pie iron until the cheese is melted and bubbly.
- Ham and Swiss Panini:Layer ham, Swiss cheese, and your favorite condiments on a hoagie roll. Press in a pie iron until heated through and the cheese is melted.
- Taco Pie:Combine ground beef, taco seasoning, and your favorite taco toppings in a pie iron. Cook until the beef is browned and the toppings are heated through.
Dinner
Elevate your campfire dining experience with these dinner-worthy pie iron recipes:
- Campfire Pizza:Spread pizza sauce on a pizza crust. Top with your favorite toppings and cook in a pie iron until the crust is golden brown and the cheese is melted.
- Mini Chicken Pot Pie:Combine cooked chicken, vegetables, gravy, and a biscuit topping in a pie iron. Cook until the filling is bubbly and the biscuit is golden brown.
- Shepherd's Pie:Layer ground beef, vegetables, and mashed potatoes in a pie iron. Cook until the beef is browned and the potatoes are heated through.
Pie Iron Dessert Variations
Expand your campfire culinary repertoire with gourmet dessert pies crafted in pie irons. From tantalizing tarts to delectable cobblers and crispy fruit crisps, discover the endless possibilities of sweet treats over the open flame.
Indulge in the art of pie iron dessert-making with our comprehensive guide, featuring detailed instructions, enticing ingredient combinations, and expert tips. Let your taste buds embark on a journey of sugary delights.
Camping enthusiasts seeking delectable pie iron recipes will find inspiration in this compilation. For a savory twist, consider exploring old fashioned chicken croquettes recipe , where tender chicken morsels are encased in a crispy crust. Returning to the realm of pie iron cooking, adventurers can experiment with various fillings, from classic fruit pies to hearty meat and vegetable combinations.
Fruit Tarts
Create miniature works of art with fruit tarts in pie irons. Flaky pastry shells cradle a vibrant array of fresh fruits, drizzled with a sweet glaze.
- Ingredients:Pre-made pie crust, your favorite fruits (such as berries, peaches, or apples), sugar, cornstarch, lemon juice
- :Line the pie iron with the pastry crust. Fill with fruit and sprinkle with a mixture of sugar and cornstarch. Drizzle with lemon juice. Cook over the campfire until the crust is golden brown and the fruit is bubbling.
- Tips:Use a variety of fruits for a colorful and flavorful tart. For a richer flavor, caramelize the fruit before filling the pie iron.
Cobblers
Warm and comforting, cobblers are a classic campfire dessert. A sweet fruit filling is topped with a fluffy biscuit or cobbler topping.
- Ingredients:Canned or fresh fruit, sugar, cornstarch, lemon juice, biscuit or cobbler mix
- :Combine the fruit, sugar, cornstarch, and lemon juice in the pie iron. Top with the biscuit or cobbler mix. Cook over the campfire until the fruit is bubbling and the topping is golden brown.
- Tips:For a more rustic cobbler, use a homemade biscuit or cobbler topping. Add a scoop of ice cream or whipped cream for an extra-special treat.
Fruit Crisps
Crispy on top and tender on the inside, fruit crisps are a delicious and easy campfire dessert. A layer of fruit is topped with a crunchy oat topping.
- Ingredients:Canned or fresh fruit, sugar, cornstarch, lemon juice, rolled oats, flour, sugar, butter
- :Combine the fruit, sugar, cornstarch, and lemon juice in the pie iron. In a separate bowl, combine the oats, flour, sugar, and butter. Sprinkle the oat topping over the fruit. Cook over the campfire until the fruit is bubbling and the topping is golden brown.
- Tips:For a sweeter crisp, add more sugar to the fruit filling. For a crunchier topping, use a combination of rolled oats and chopped nuts.
Pie Iron Breakfast Ideas

Embark on a culinary adventure with these delectable pie iron breakfast creations. From fluffy pancakes to savory egg and bacon combos, these recipes will tantalize your taste buds and fuel your outdoor escapades.
Our step-by-step instructions and visual guide will ensure you craft perfectly cooked, crispy pies that are sure to become a staple of your camping cuisine.
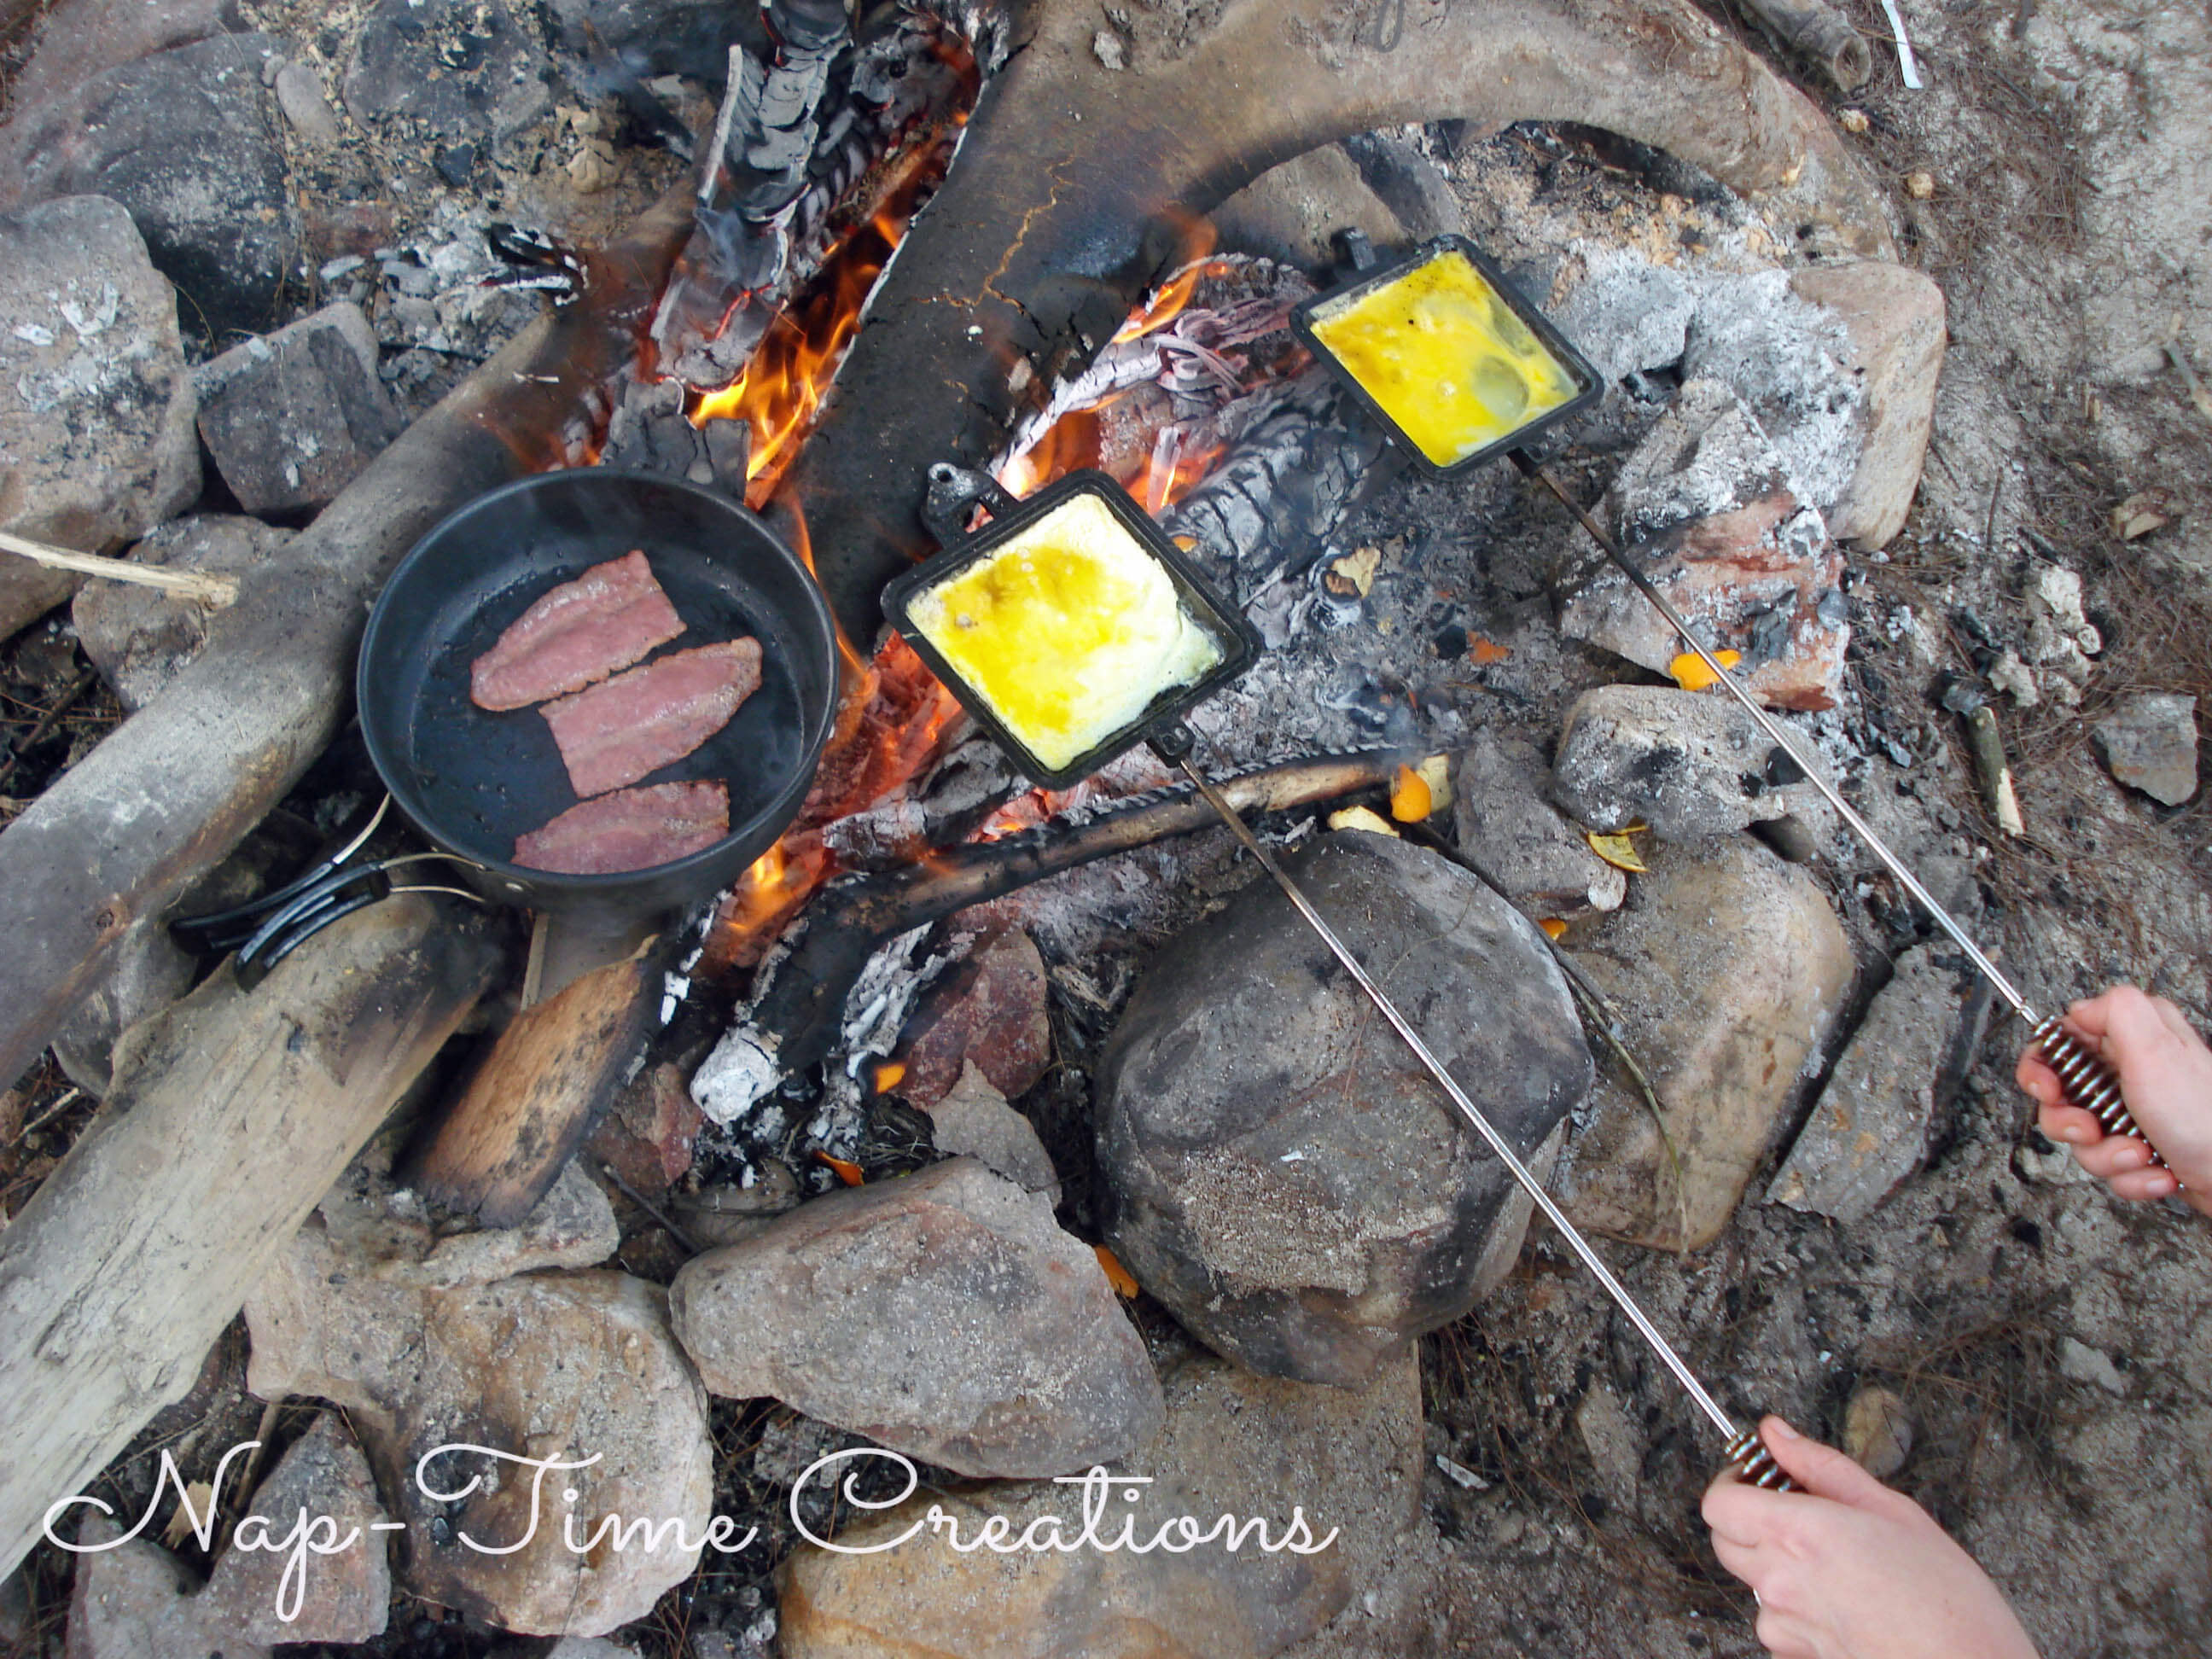
Classic Egg and Bacon Breakfast Pie
Savor the timeless flavors of a classic breakfast in a portable pie iron. Crispy bacon, fluffy eggs, and a hint of cheese combine to create a hearty and satisfying meal.
- Ingredients:
- 2 slices bacon
- 2 eggs
- 1/4 cup shredded cheddar cheese
- Salt and pepper to taste
- Steps:
- Cook bacon in a skillet over medium heat until crispy. Remove from heat and set aside.
- Crack eggs into a bowl and whisk until well beaten.
- Open pie iron and place one slice of bacon on one side.
- Pour half of the egg mixture over the bacon.
- Sprinkle with half of the cheese.
- Close pie iron and cook over campfire for 5-7 minutes, or until eggs are set.
Pancake Pie with Sweet Toppings
Indulge in fluffy pancakes cooked to perfection in your pie iron. Top with sweet and savory delights for a breakfast that will satisfy your cravings.
- Ingredients:
- 1 cup pancake mix
- 1/2 cup water
- 1 tablespoon butter
- Optional toppings: fruit, chocolate chips, whipped cream, syrup
- Steps:
- In a bowl, combine pancake mix and water. Stir until just combined.
- Grease pie iron with butter.
- Pour half of the batter into one side of the pie iron.
- Close pie iron and cook over campfire for 3-5 minutes, or until pancake is golden brown.
- Flip pie iron and cook for an additional 2-3 minutes.
- Serve immediately with desired toppings.
Pie Iron Hacks and Tips
Unlock the full potential of pie iron cooking with these ingenious hacks and tips. Elevate your campfire culinary adventures with these simple yet effective techniques.
Pre-Cooking Ingredients
Save time and enhance flavor by partially or fully cooking ingredients before assembling your pie irons. This ensures even cooking and prevents soggy fillings.
Camping trips can be enhanced with delicious meals cooked over an open fire. Pie iron recipes offer a variety of options, from sweet to savory. If you're looking for a seafood dish, consider trying a mussels without shell recipe . This easy-to-make dish requires minimal ingredients and can be enjoyed as a main course or appetizer.
Once you've satisfied your seafood craving, return to the warmth of your campfire and continue exploring the many pie iron recipes available for your camping adventure.
- Sauté onions, peppers, and meats to reduce excess moisture and caramelize flavors.
- Pre-bake crusts for a crispy texture and to prevent burning.
- Par-boil vegetables to tenderize them and shorten cooking time.
Using a Pie Iron Press
Invest in a pie iron press to achieve evenly pressed and perfectly sealed pie irons. This tool ensures consistent cooking and prevents fillings from oozing out.
Follow these steps when using a press:
- Place your filled pie iron on a flat surface.
- Position the press over the pie iron, aligning the handles.
- Gently press down on the handles to seal the edges securely.
Pie Iron Accessories

For a successful and enjoyable pie iron cooking experience, consider investing in essential accessories that enhance convenience, safety, and efficiency.
Having the right tools at your disposal can make a significant difference in the preparation, handling, and storage of your pie irons. These accessories serve specific purposes and contribute to an overall positive camping experience.
Spatulas
Spatulas are indispensable tools for handling and manipulating food within the pie iron. Choose spatulas made from heat-resistant materials, such as silicone or metal, to prevent melting or damage.
Tongs
Tongs provide a safe and efficient way to flip and rotate the pie iron over the campfire. Look for tongs with long handles to keep your hands a safe distance from the heat.
Carrying Cases
Protect your pie irons from damage and dirt during storage and transportation. Consider investing in a durable carrying case that accommodates multiple pie irons and accessories.
Pie Iron Cleaning and Maintenance
Proper care and maintenance are essential for ensuring the longevity and hygiene of your pie irons. Follow these guidelines to keep your pie irons in pristine condition.
Cleaning
Cleaning your pie irons after each use is crucial to prevent food residue and grease buildup. Use hot, soapy water and a soft-bristled brush or sponge. Avoid using abrasive cleaners or steel wool, as they can damage the surface of the pie iron.
Camping is a wonderful way to spend time with friends and family, and one of the best parts is cooking over an open fire. Pie iron recipes are a great way to cook over a campfire, and they are easy to make and clean up.
If you are looking for a delicious and easy pie iron recipe, I recommend trying this pizza recipe with premade dough . This recipe is quick and easy to make, and it is sure to be a hit with your camping companions.
Once you have tried this pizza recipe, you can experiment with other pie iron recipes, such as s'mores, grilled cheese sandwiches, or even fruit pies.
For stubborn food residue, soak the pie iron in a solution of hot water and baking soda for several hours. This will help loosen the residue, making it easier to remove.
Clean your pie irons immediately after use, while they are still warm. This will prevent food from drying on and becoming more difficult to remove.
Maintenance
Regular maintenance is essential to prevent rust and extend the life of your pie irons. Inspect your pie irons for damage or wear before each use. Tighten any loose bolts or screws, and lubricate the hinges with a food-safe lubricant.
If your pie irons develop rust spots, remove them with a fine-grit sandpaper or a commercial rust remover. Once the rust is removed, apply a thin layer of vegetable oil to the affected area to prevent future rusting.
Storage
Store your pie irons in a dry, well-ventilated area to prevent rust. Avoid storing them in damp or humid environments. If possible, store them in a protective case or bag to prevent scratches or damage.
For long-term storage, apply a thin layer of vegetable oil to the surface of the pie irons to prevent rust. Wrap them in plastic wrap or a protective bag before storing them in a cool, dry place.
Pie Iron Storage and Transportation: Pie Iron Recipes For Camping
Proper storage and transportation of pie irons are crucial to prevent damage, rust, and ensure their longevity. Here are some essential tips:
Materials for Storage and Protection
* Use moisture-resistant materials:Choose storage containers or bags made of materials like plastic, vinyl, or canvas that repel moisture.
Apply a protective coating
Consider coating the pie irons with a thin layer of oil or cooking spray to create a barrier against moisture and corrosion.
Packing and Long-Term Storage
* Clean and dry thoroughly:Before storing, ensure the pie irons are thoroughly cleaned and completely dry to prevent rust.
Wrap individually
Wrap each pie iron individually in a moisture-absorbent material like paper towels or newspaper to absorb any residual moisture.
Store in a dry, well-ventilated area
Choose a storage location with low humidity and good ventilation, such as a pantry or a well-aired closet.
Table: Recommended Storage Conditions
| Factor | Recommended Conditions ||---|---|| Temperature | Room temperature (50-70°F) || Humidity | Low (below 50%) || Ventilation | Good airflow |
Transportation
* Use protective packaging:Pack the pie irons securely in a sturdy box or bag lined with cushioning materials like bubble wrap or foam to prevent damage during transit.
Handle with care
Avoid dropping or throwing the pie irons to prevent bending or breakage.
Store upright
Keep the pie irons upright during transportation to minimize pressure on the handles.
Final Review
As the embers of your campfire dwindle and the stars twinkle above, let the memories of your culinary creations linger in your mind. Pie iron recipes for camping has not only provided you with a collection of tantalizing recipes but has also ignited a passion for outdoor cooking that will continue to inspire you for years to come.
Embrace the spirit of adventure, gather your loved ones, and embark on a journey where every meal becomes a cherished experience.


